All horse owners must realize that the horseshoe in feet is a specialized and skilled task. Those attempting to perform such work on their own horse’s feet may cause permanent damage. However, there are occasions when the owner/handler should be able to show some basic farriery skills. For example, if a horseshoe is spread, partly pulled off or in any other way likely to cause injury to the horse, it should be removed at once.
The purpose of this section is to explain how to nail on and remove horseshoe, but it will not turn you into a farrier. To become a farrier, you must serve a 5-year apprenticeship. In most states, there is a Farrier Trade Apprenticeship, and Accreditation farriers must pass a stringent examination, not only in practical skill but also in anatomy and corrective shoeing. It is recommended that you use the services of only accredited farriers.
Horseshoe: Preparation of Your Horse
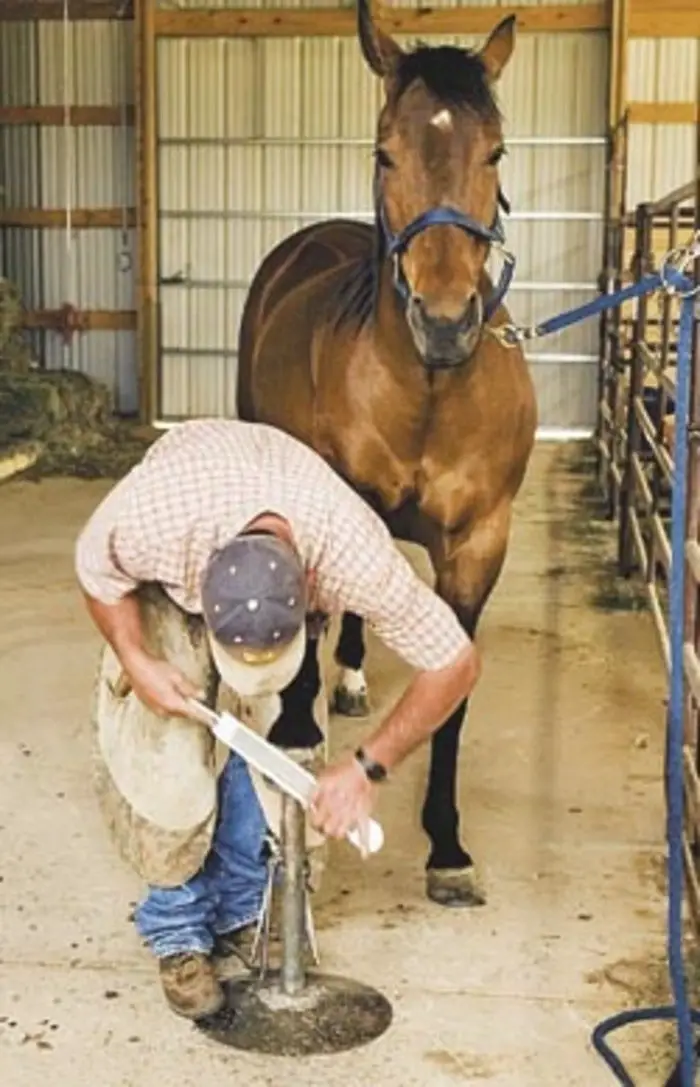
Whether a farrier is coming to work on your horse or you are about to attempt some simple repair work you must:
- Catch and secure the horse, before the farrier arrives if you are using a farrier.
- Clean up and dry the horse’s legs and feet.
- Provide a flat, clean, dry area for shoeing, as well as shelter in wet weather.
- Keep dogs and small children away as they can cause accidents by frightening the horses.
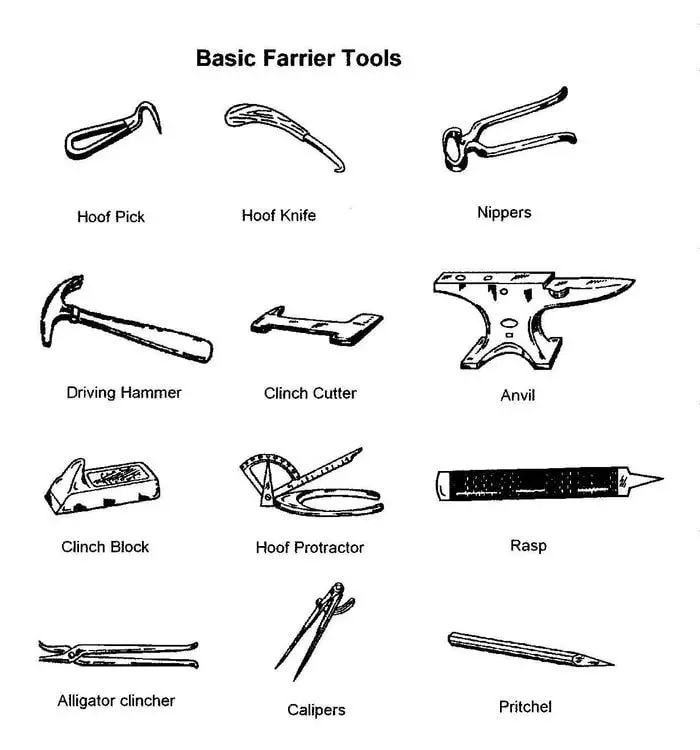
Horseshoe: Tools and Equipment
Most farriers use machine-made horseshoes, although a farrier can make shoes specifically for your horse. The valuable points for you to remember when applying the horseshoes is to make them fit the hoof, and not the foot meets the horseshoe.
- Farrier’s anvil to ensure that the shoe is level, and perhaps to widen or close the gap between the heels of the shoe to suit the foot.
- Pincers.
- Horseshoeing hammer.
- Clinching tool.
- Rasp.
- Buffer.
13 Points on Horseshoe: Detail Procedure of Shoeing
The procedure of horseshoe is described in detail in the following points:
1. Lift the legs is the same order as for hoof trimming and use the same positions. Apply the shoe to the dressed foot. If the shoe has a toe clip, mark its place on the edge of the wall and cut a small half-moon shape with the knife, cutting from each side towards the middle of the half-moon shape. Be careful not to take too much wall off.
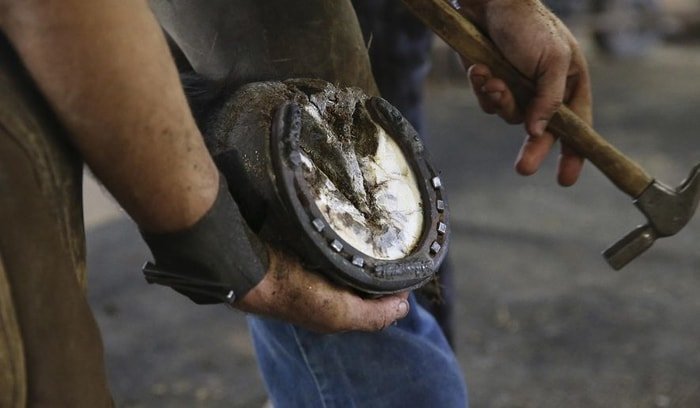
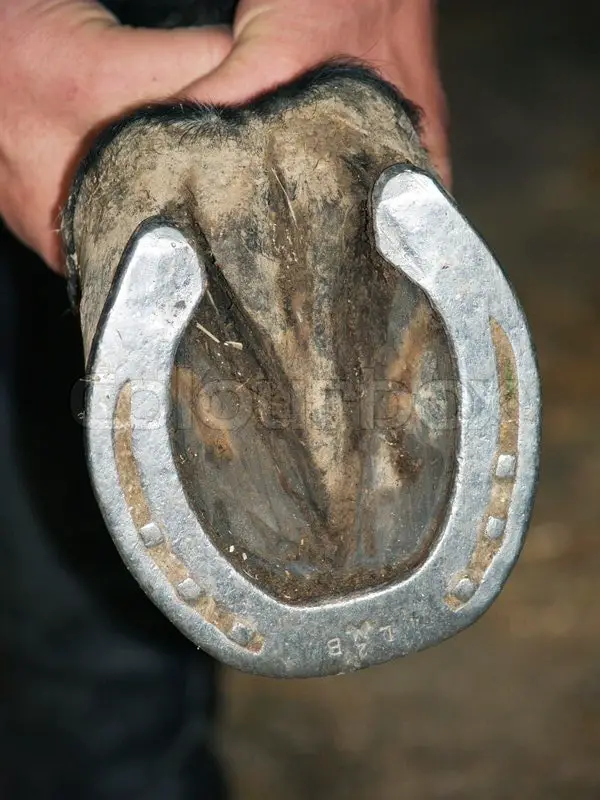
2. Now apply the horseshoe again. It should be seen to be level, and it should fit neatly around the front of the foot, but from mid-sides to heels it should extend about 1.5 millimeters beyond the side of the hoof to allow for expansion of the foot on impact with the ground.
3. The heels of the horseshoe should not be short, or they will cause corns. Neither should they project or the shoe will loosen quickly, and the hind feet may tread on the projecting heels of a foreleg.
4. The order of nailing does not matter much. For shoes with a toe clip, drive the middle nails first for shoes without a toe clip drive the heel-end nails first.
5. Four nails are usually driven on the outside wall and three on the inside. The heel-end pins should not be more than two-thirds of the length of the foot from the toe, and on contracted feet don’t nail more than halfway back.
6. The point of the nail has a bevel on one side. This causes the end to break the surface of the wall at the right distance from the bottom edge (if the nail has been correctly angled)-that is, from 25 millimeters to 30 millimeters for nails nearer the toe and about 18 millimeters for nails near the heel where the wall is steeper.
7. Now place the first nail with the bevel inside, angling it so that it will come out at the desired distance from the bottom edge. Don’t be nervous. Be confident. This is not the first nail that was ever driven into a horse’s hoof.
8. Make sure that the nail is started on the wall side of the white line. Support the hoof with your cupped left hand. Tap the pin gently at first, then after rechecking the angle of the nail, drive it home with sharp blows.
9. An experienced farrier can tell by the sound of the tapping, and the resistance encountered whether the nail is taking the right course.
10. When the end of the nail seen through the wall move the hammer to your left hand, place the curve of the claw under the nail and pull upward to bring the end out at right-angles to the hoof wall. Now hold the hammer by the head, grip the nail end in the claw and twist (wring) it off.
11. Drive all the other nails and wring off the ends. Now place the flat end of the closed pincers under each nail in turn and strike the nail head with the hammer. This is called drawing-up. It also turns the nail end back towards the bottom of the foot.
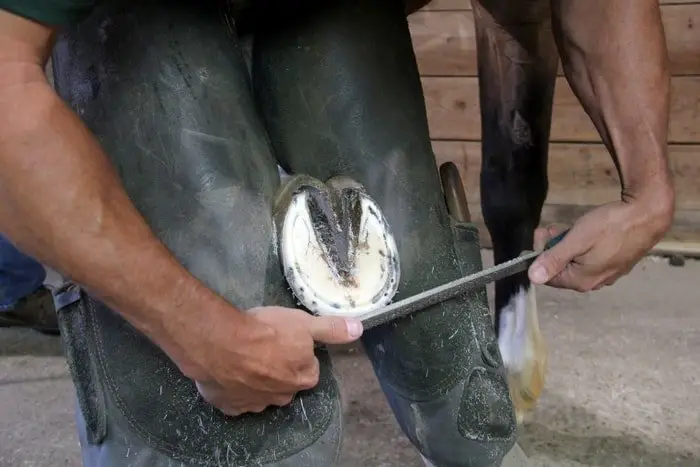
12. You must now change position, bringing the horse’s leg forward onto the top of your inside leg so that you can work from the top of the foot. Take the rasp and, using the fine side, cut back the nail ends (the clenches) until they are as long as they are full. Smooth off the burrs and lightly use the edge of the rasp to make a slight recess in the wall where each clench is to be bedded.
13. Use the clenching tool to turn the clenches into the wall. Place the lower jaw under the sole and the upper jaw over each clench in turn and apply pressure to the handles. It only remains to take the rasp and run the edge of it around the groove between the hoof edge and the shoe to clean up the hoof edge.
Horseshoe: 3 Points Checking Your Work
Once the horse has been shod, check that the job has been done correctly. The horse’s feet should be examined off the ground and on the ground. The horse’s gait should also be reviewed to ensure that its pace has not been adversely affected.
1. Foot on the Ground
While the horse stands with all feet on the ground, note that:
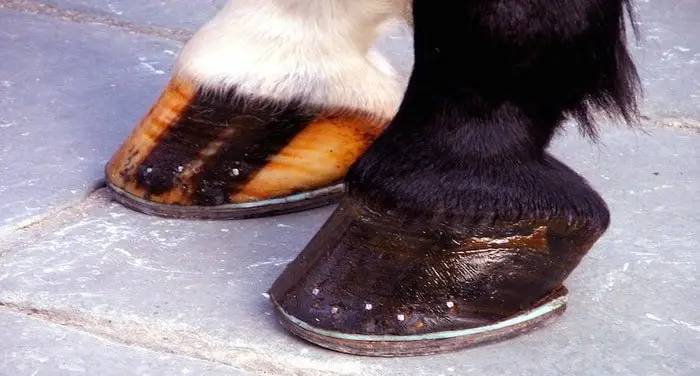
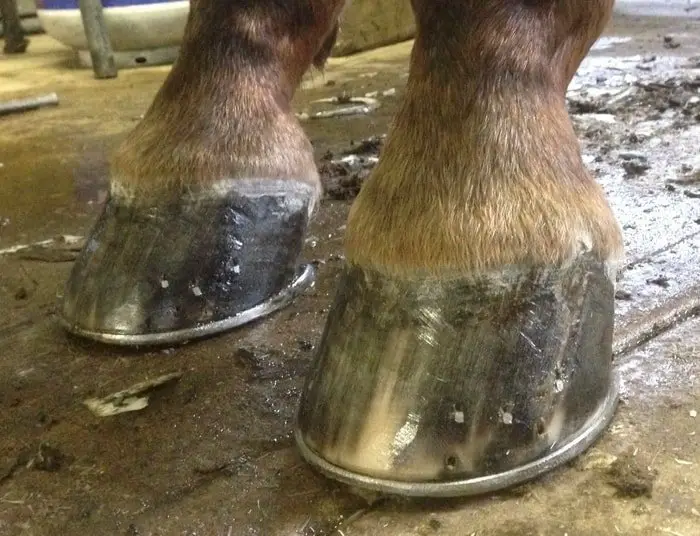
- Both front and hind feet should be pairs, with the same size and shape and with the same correctly aligned pastern/foot axis
- Clenches should be even, flat and broad. Nails should be pitched higher at the toe than at the heels and not driven into cracks.
- There should be no rasping of the wall unless there has been flaring, except for a little below the clenches where they have been rasped smooth.
- There should be no shortening of the toe of the front to conceal a poorly fitted shoe.
- The clips should be low and broad and the toe clips centered.
- The shoe should match the outline of the foot, and the heels should be of the correct length.
2. Foot Lifted Off the Ground
After horseshoe, procedure lifts each foot off the ground and note that:
- The nails should be driven home; the heads should fit their holes and protrude slightly.
- Heels should not be opened up (opening up the heels means cutting away the bars to make the foot appear more full).
- The toe clip should be centered and in line with the point of the frog.
- The frog and sole should not be excessively pared.
- The sole should be eased at the seat of the corn.
- No daylight should be visible between the foot and the shoe, which would indicate an unevenness of either the bearing surface of the foot or the foot surface of the shoe.
- The horseshoe should fit the foot, and the heels should not interfere with the function of the frog.
3. Horseshoe: Horse Gait Assessment
Finally, the horse should be walked and trotted up and down by a handler so that its gait can be reassessed. There should be no sign of lameness, nor should there be any sign of the gait abnormalities described in Corrective shoeing my another article.
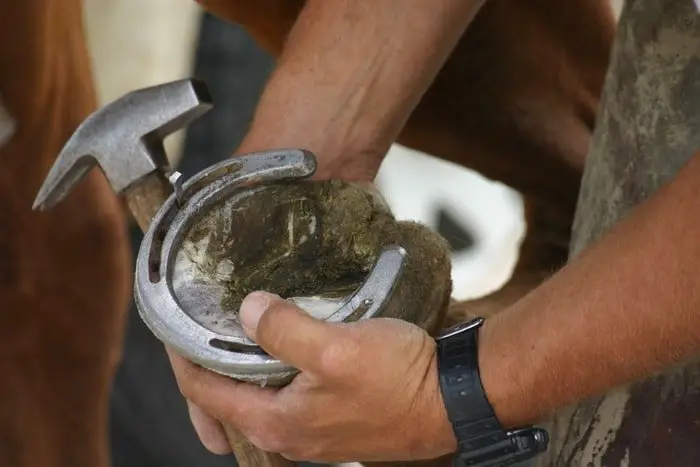
Procedure-Removing of Horseshoes
Lift the horse’s leg and place it between your legs with the shoe uppermost. Work the chisel edge of the buffer under each clench in turn and hammer the buffer until the clinch is straightened out. You can also rasp the clenches off.
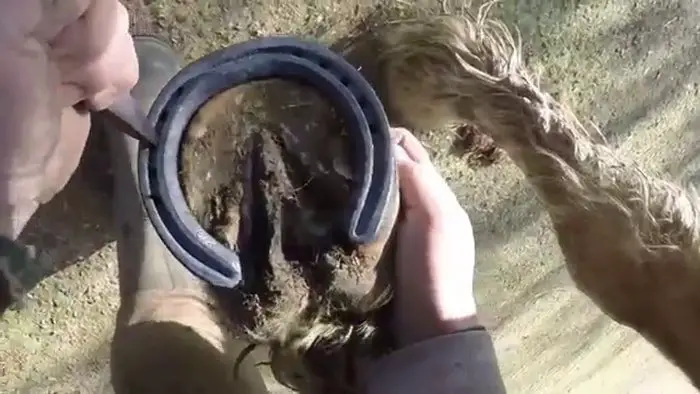
When all the clenches have been straightened, take the pincers and work the jaws under each side of a branch of the shoe, near the heel. Push downwards and jerk the handles inwards towards the middle of the foot.
Read Also: 15 Most Popular Race Horse Breeds You Must Know As A Horse Racer
When you have sprung this branch of the shoe move the pincers to the other branch, again pushing downwards and jerking inwards. This direction of movement is taken to avoid breaking horn from the edges of the walls.
When both branches have been sprung near the heels, work around each branch towards the toe until the shoe comes away. Throw it well clear of the working area. Pick up all the nails to prevent punctures to the horse’s sole or the tires of your car.
Concluding Remarks on Horseshoe
To keep healthy and working potential your horse you need a corrective horseshoe. As a horse owner, you must have enough working knowledge on horse gait, horse hoof structure, horse hoof diseases, hoof trimming, and horseshoe. In my above article, I have tried to explain detail procedures, equipment, checking and removing the horseshoe. If the above information helps you, please share with your friends.
